By , Principal Engineer
If you work at a manufacturing or supplier plant, you already know that tracking operations with paper-based methods has many issues.
And for lean operations, a host of issues is not ideal for any plant.
Where Paper-Based Systems Fall Short
I’ve worked in the manufacturing industry for 24 years and paper-based methods are far more common than the average person might think.
For example, I worked with a client that used clipboards and Excel spreadsheets to track locations of pallets, product specifications, pending orders, etc. While this system worked for the client for many years, they continually struggled with accuracy and efficiency issues.
When you have operators, engineers, delivery personnel and many other people all interacting with a product and manually recording data about it, data errors (typos or handwritten) are expected. Manual data entry is time consuming when transferring data from paper into and between spreadsheets and computer systems. And it’s problematic when people need immediate access to information or reports.
More often than not, these spreadsheets become unwieldy. They take a long time to load, crash because of their size and if you try to split the spreadsheet, then you deal with multiple versions of documents and an inability to see the bigger picture that the data presents.
An alternative solution is to implement a barcode inventory system. Below are six steps on how to start that process.
Step 1: Look for Vendors
If you realize that a barcode system is what your plant needs, the first step is to find a vendor that is not only an expert in implementing barcode systems but is willing to go the extra mile when needed and partner with you to ensure your success.
What to look for in a vendor:
- Good communication in non-software terms. Software is complex. Finding a vendor that can explain software concepts in easily-understandable ways is challenging, but possible. This is important because you and your co-workers need to understand what the vendor proposes so you can ensure that it meets your needs. Down the road, you’ll be happy you went the extra mile to find a vendor that excels at this skill.
- Experience in developing different kinds of solutions. A vendor that has developed solutions for a variety of industries has a broader base of knowledge to pull ideas from or can “think outside the box.” Experience bids creativity. If you’re in the automotive industry, don’t just focus on vendors that have worked with only automotive plants.
- The ability to understand and craft a solution around the plant’s processes. Look for a vendor that takes time to listen and ask questions about your processes. You want a vendor that fits their solution to your needs: not one that changes your business to fit their solution. Remember, software is rigid – if it isn’t built to handle special cases and exceptions, then it won’t meet your business needs.
Step 2: Understand Your Process or Product Flow
This step involves considering the “what ifs,” exceptions and potential challenges within your process or product flow.
An excellent tool to document this is a BPMN diagram. BPMN stands for Business Process Modeling Notation. BPMN diagrams capture the human element in any process. They capture the interaction between humans and systems, between departments and organizations, and the parallel and time-dependent nature of processes.
By diagramming these relationships, you’ll be able to better communicate them to your vendor, so they can develop the best possible barcode system for you. They also help identify potential areas for process improvement.
TIP: Include your vendor in this stage of the process, or at least someone that understands software construction and terminology.
Step 3: Develop Software Requirements and Barcode System Design
Your software requirements should contain:
- What the barcode system will do
- How users interact with it
- Infrastructure requirements
- Determined and prioritized needs vs. wants
Barcode design considerations:
- Barcode Content – Decide what data will go into your barcode. This will determine what characters your barcodes need to support. If using a barcode to identify material produced, consider how much material is produced in a year. This helps determine how long the identifier number has to be, so you don’t run out of barcodes.
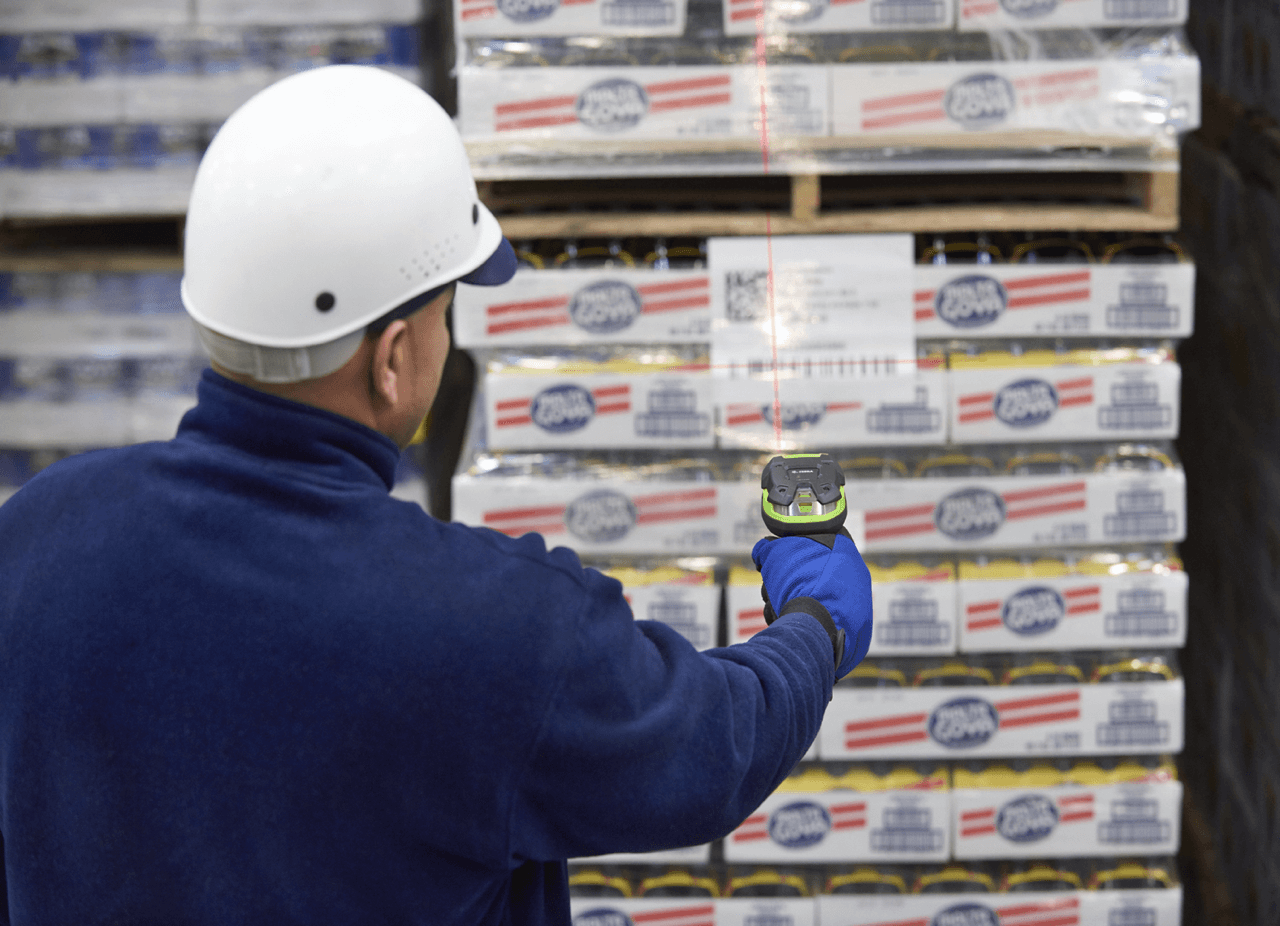
- Scanning Distance – What distance/where will people be scanning from? While sitting on a forklift? Or will they scan a sign that’s hanging on the ceiling? Trying scanning barcodes from a variety of distances and locations and in varying environments to ensure it meets your needs.
- Barcode Type – 2D or 1D
- Two-dimensional barcodes are the best choice. They can store more information than 1D barcodes. You can put the entire chemistry makeup of a product into a barcode, so decide what is important to include. 2D barcodes also have better fault tolerance. I’ve even seen instances where a portion of a barcode is damaged and a scanner can still read it.
- One-dimensional barcodes work well in small narrow spaces when short pieces of data are needed.
- Check out this blog by Miles Data Technologies, “1D vs. 2D Barcodes: When and Why to Use Each Type” to learn more about the difference between the two.
- Type of Material the Barcode Will Adhere to
- Think about the surfaces that you’ll put the barcodes on/what will receive a barcode.
- Barcodes can be printed on paper, printed on labels, spray painted, etched, dot-peened, etc. Another option is inserting printed barcodes into pockets on the outside of containers, boxes, bags, etc.
- If you do something similar, verify that the scanner can read the barcode through the pocket material.
Step 4: Conduct Frequent Progress Meetings During Development
Once your vendor starts developing a prototype of the barcode system, it’s important to keep frequent contact between the Dev Team (the vendor) and the Management Team (your company’s stakeholders).
I highly recommend including your core team in this process. This “Management Team” should include people like your plant manager, system administrator, individual department managers, the head of the shipping department, etc. The more people you engage early in the process, the better the outcome. Just don’t include too many people or else you get “too many cooks in the kitchen.”
Frequent meetings enable the Dev Team to ask questions along the way and see demonstrations of features as they are built. The stakeholders can see the progress and correct mistakes early in development. This creates a collaborative feedback system where both teams will guide the software construction process. This also facilitates training and system handoff.
Tip: Don’t expect your vendor to implement this project then you seamlessly take it over when it’s all done. Work side by side with your vendor so they can flawlessly transition the project into your hands and so you have a working knowledge of the system.
Step 5: Testing and Deployment Strategy
Determine a strategy to test the system with end-users and a strategy for rolling the system out to the enterprise. I recommend a “Phased Deployment” strategy, where the system is introduced to small groups or departments, as opposed to the entire enterprise all at once. Phased deployment is important because you don’t want to deploy it to all users and all plants and have an error that stops production across the enterprise. Deploying the system in phases or chunks makes it much easier to manage and troubleshoot.
I also recommend “Parallel Testing,” where users use both the old and new system. This allows comparing the new system with the old, to ensure the new system operates correctly. It also helps the users learn to transition from the old system to the new system.
Step 6: Training
If you include your vendor in the project early on, then you won’t need much training. By having people involved in initial meetings, training will naturally happen as the project progresses.
If you do host training sessions, have members from both the Dev Team and the Management Team present. The Dev Team can answer system-specific questions and the Management Team can answer company-specific questions.
The training session should include the following:
- A walkthrough of how to use the scanner, including any beeps or flashes that may occur when barcodes are scanned. This should include both good barcodes and incorrect, invalid or otherwise “bad” barcodes.
- What barcodes to scan and when.
- A walkthrough of the software system, including what appears on the screen for both good reads and incorrect or bad reads.
Preparing for errors is a big part of this step. Go through possible error scenarios so users know what will happen if they scan the wrong barcode. All of this will make the deployment process smoother.
—
So, there you have it – implementing a barcode system in six “easy” steps!…
While I wish it were that easy, transitioning your inventory or manufacturing system from a paper-based one to an electronic one is a big, but worthwhile endeavor. It demands time, attention and a good vendor. Barcodes enable real-time tracking of inventory, real-time data collection, error-proofing your production process, and error-proofing your shipping process, just to name a few benefits.
If you want to learn more about how barcodes bring error proofing into your process, download this white paper.

Tim Hayes
Principal Engineer
About the Author: Two things I enjoy about working at Pyramid Solutions are working on a variety of projects and having a flexible work environment. These things enable me to build innovative solutions for clients that make their business better. Outside of work I like to travel, do yoga, learn new things and spend time with my family.


